How To Do Raw Frayed Hem Jeans Yourself With DIY
The raw hem jeans trend has been popular for a couple of years now, hitting it big last Summer and then actually becoming a staple in jeans from there on out. Every premium denim brand as well as the high street alternatives now feature raw hems in a lot of their jeans that they release, but for those of you want to attempt the trend yourself and not shell out big bucks for a new pair of raw hem jeans, or simply because you haven’t found a pair you like, here’s a DIY on how to do it!
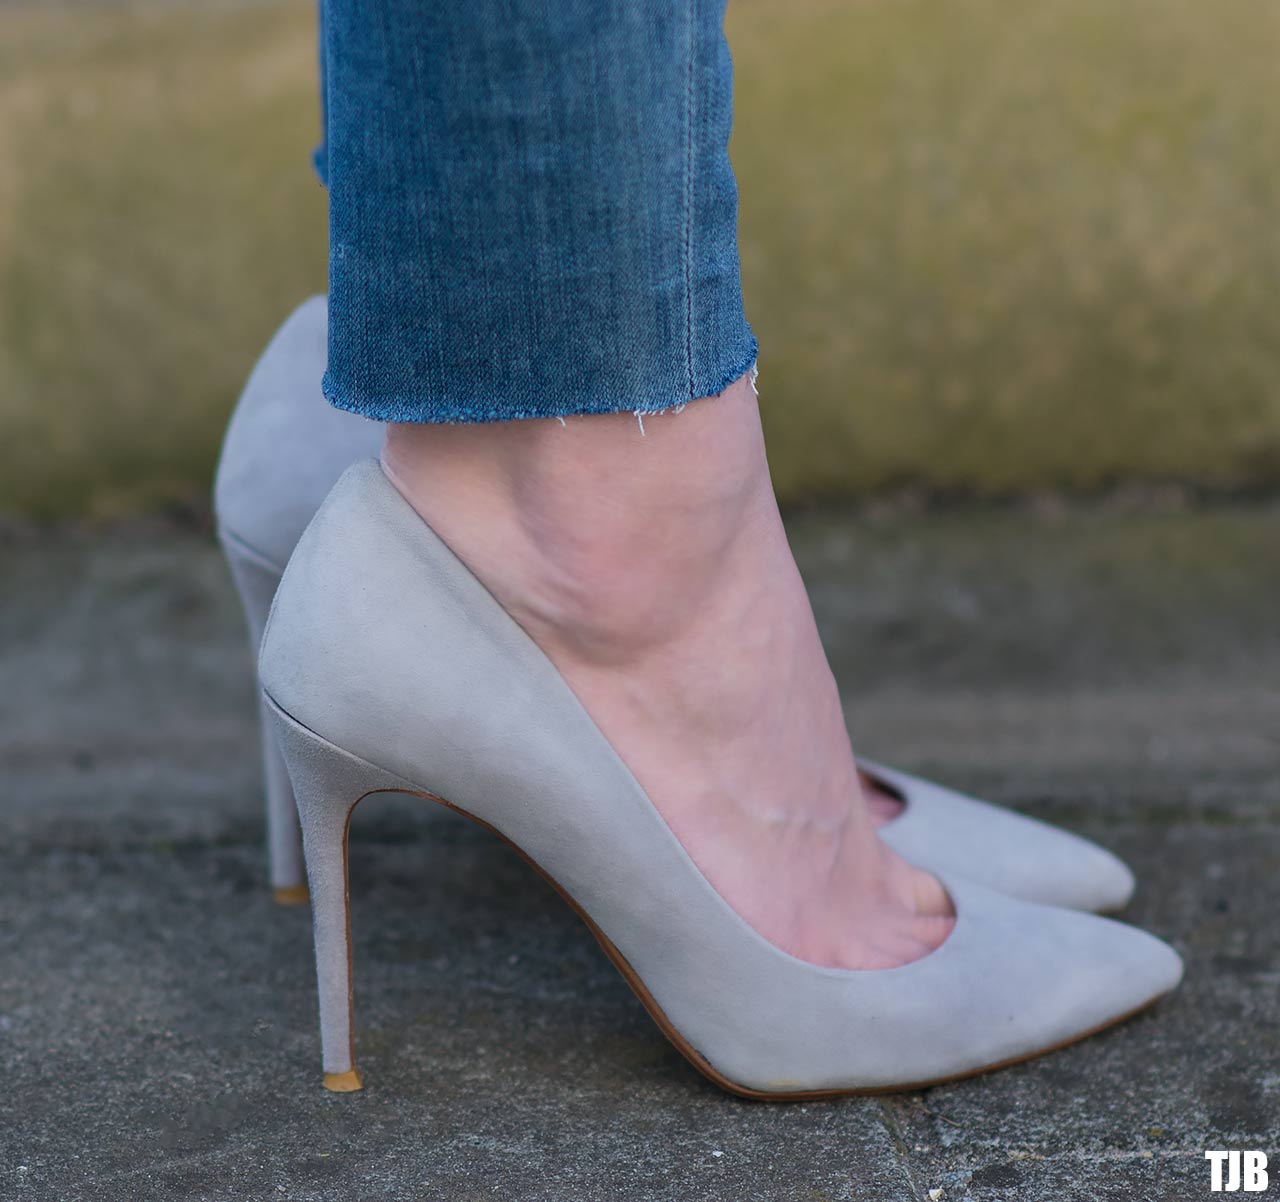
For me the biggest struggle was finding the perfect wash for the raw hem jeans as most of them were not suiting what I was looking for, which was a gorgeous mid blue that looked authentic and a inseam short enough to hit above my ankle. My perfect jeans as you already know from my favourite jeans post are these ones. I purchased another pair to do a DIY on, so the jeans I am using here are the Citizens of Humanity Rocket Crop Jeans in Aura as the wash and fit of them is truly perfect in every way! I wanted to be able to have a full length pair and a raw hem pair for different days, which I now have!
Another issue that I had was also finding the right type of raw hem. I wasn’t into the completely chopped off straight look very much as I didn’t find that it looked finished or intentional, but I wasn’t into the overly frayed and destroyed raw hem either as it didn’t carry a clean cut vibe to it. For me, the perfect type of raw hem jean would be like the ones on the 7 For All Mankind Jeans I reviewed last year, that was ideal! So find out below how to get that amazing DIY raw hem denim look without any cost at all as you can use your own jeans!
Buy the best pre-done raw hem jeans below:

Step 1 – Put your jeans on and measure where you want the new hem of your jeans to fall. You can mark this out with chalk if you want to and draw a straight line across, but for me I was just simply cutting the hem off as they were already cropped, so I already had a marker. Lay your jeans out flat on a flat surface and make sure each hem is lined up neatly and ready for cutting.
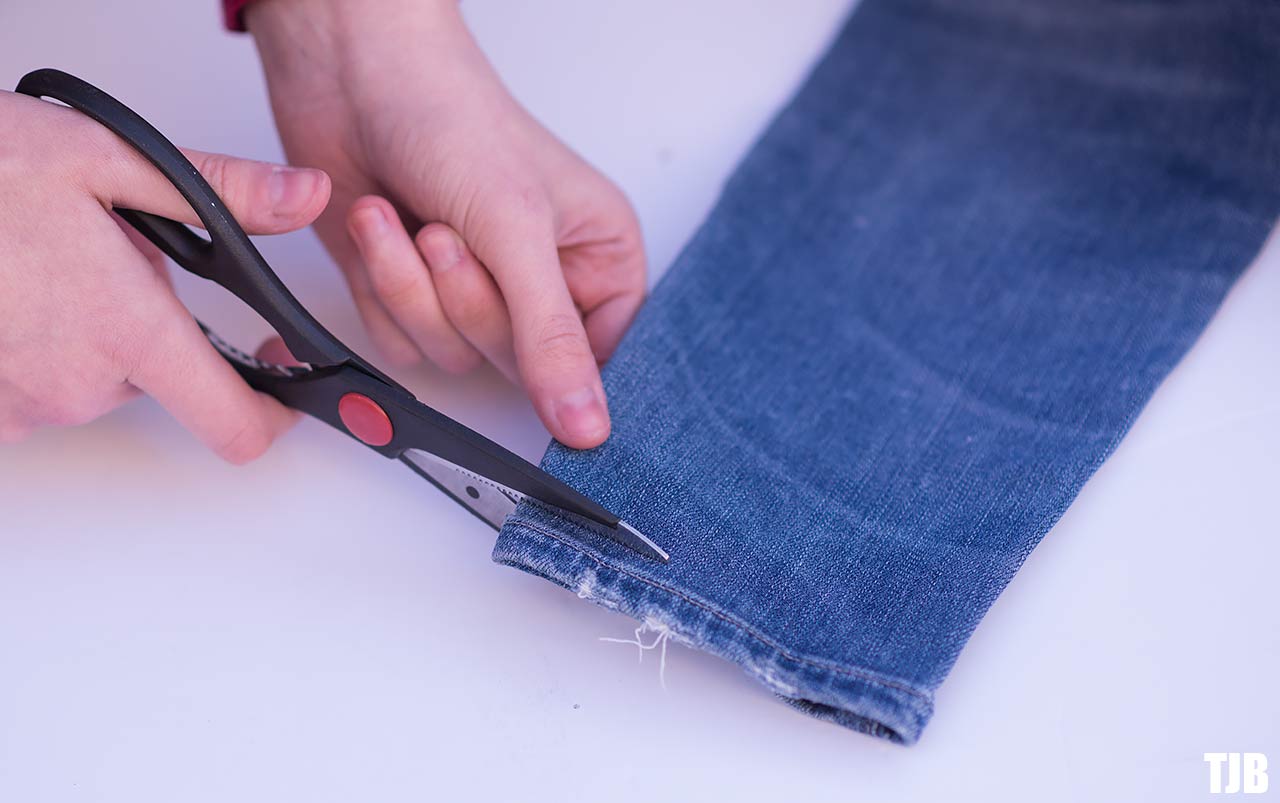
Step 2 – You need to take a sharp pair of scissors which will be able to cut through two layers of denim easily, then you cut across your chalk line slowly and neatly, making sure the edges are straight (take care on the thick folded bits each side). For me, I just simply cut along the top of the hem line on both legs as I knew the length that I wanted them to be. If you are unsure on how short you want them, it’s always best to go with a longer length first and then re-cut them if you want them shorter.
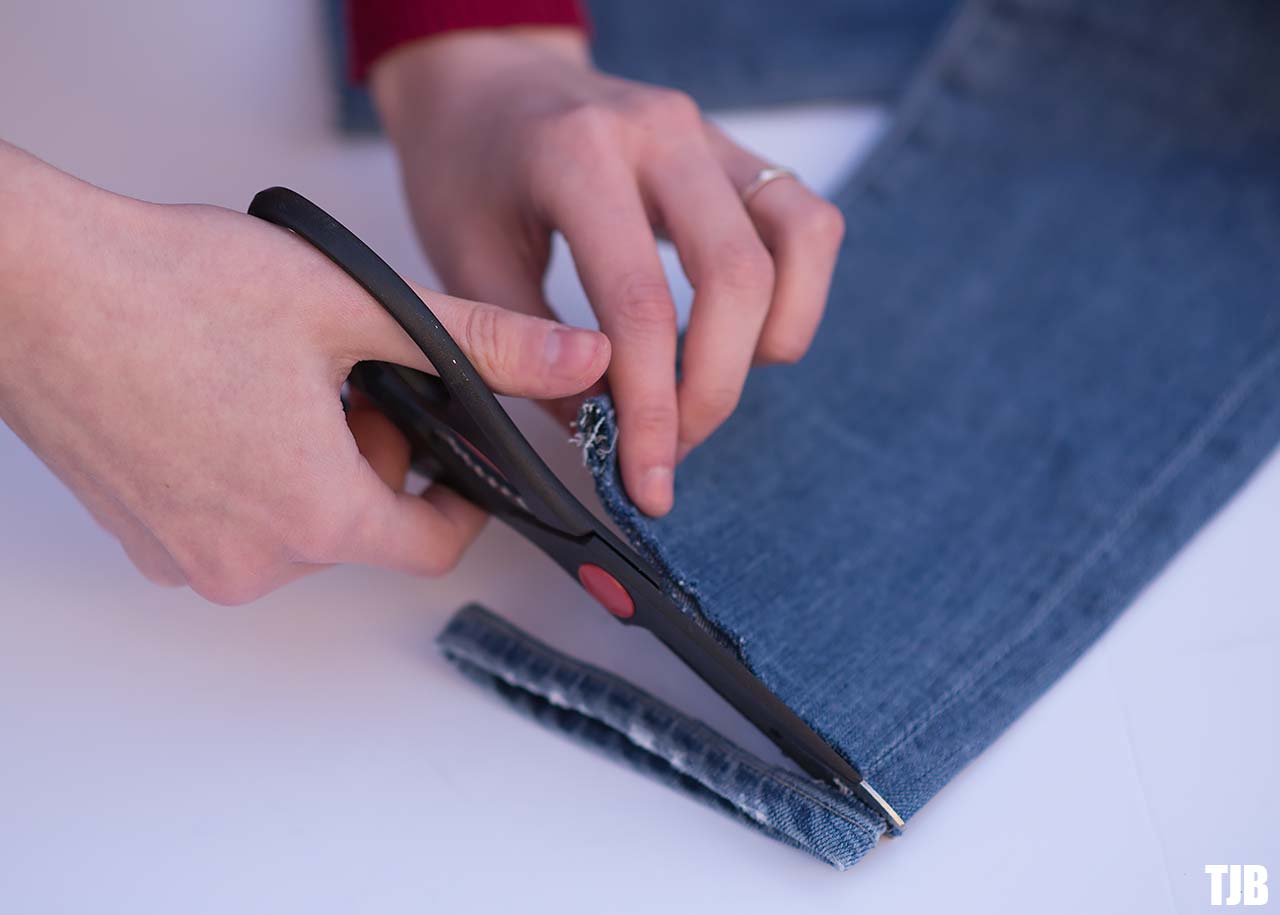
Step 3 – Once you have cut the hem off, put it to one side and analyze the new cut. Make sure both sides of the denim are equal and that there’s no stray bits anywhere as you need a clean cut, smooth line to work with for the next steps and to make it look like it was professionally done. Nobody likes that ‘hack job’ look which looks like you couldn’t find a tailor.
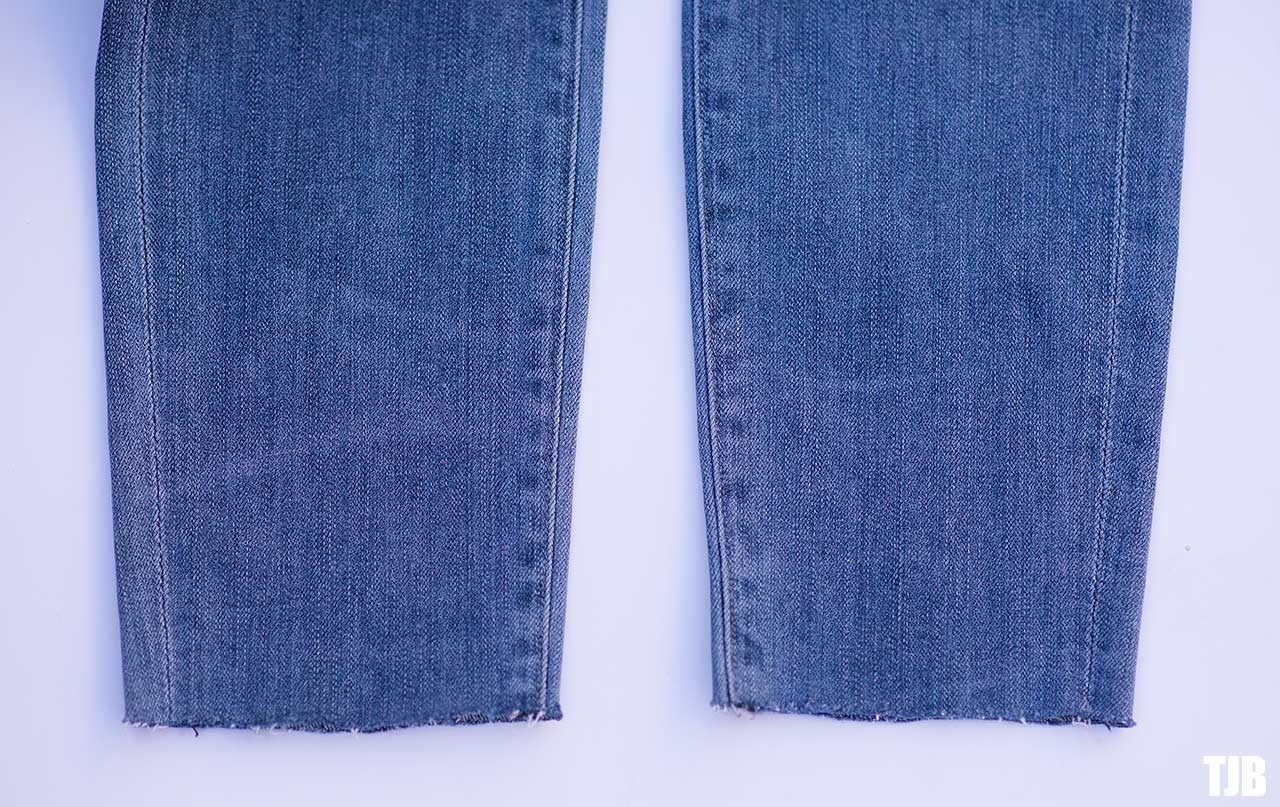
Step 4 – You should be left with clean cut raw hems. Don’t worry if it took a little longer to do as it did for me. My scissors wouldn’t cut through the two seams of the denim together, so I ended up having to cut them one side at a time, but thankfully I managed to make them neat and equal, which is a must, and you can see they are slightly frayed already.

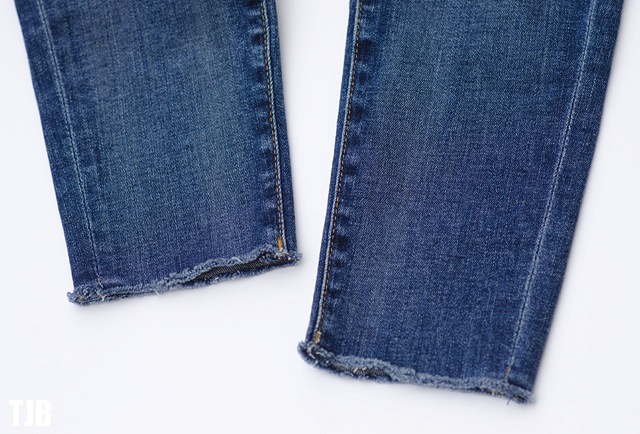
Step 5 – Now comes the fraying of the hem. What I personally did to make mine rougher and worn in was create multiple slits in the denim at a vertical angle, like you see above, about 2mm in length. These little cuts are tiny, you don’t want to make them long, so be sure to just use the tips of the scissors as you move along the hem creating the cuts. I did a cut every few millimeters along so there were plenty of them.
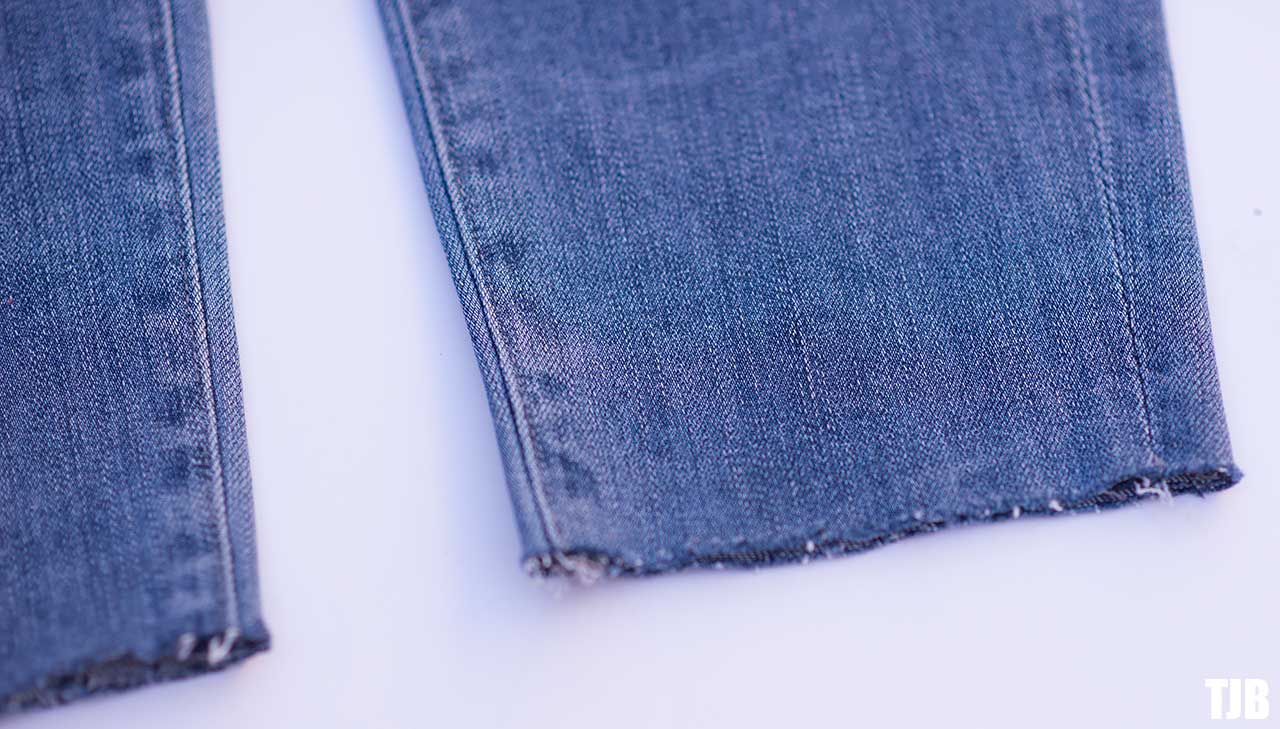
Next you want to rough up the ends of the denim by rubbing them together. Simply get a hem and hold each side of it in each hand, then rub them together like you would rub two stones together. This creates friction on the cuts you made and frays the hem. You might want to snip off any long white threads that come off if you don’t like them, but the more you do it, the more the hem will fray and look better.
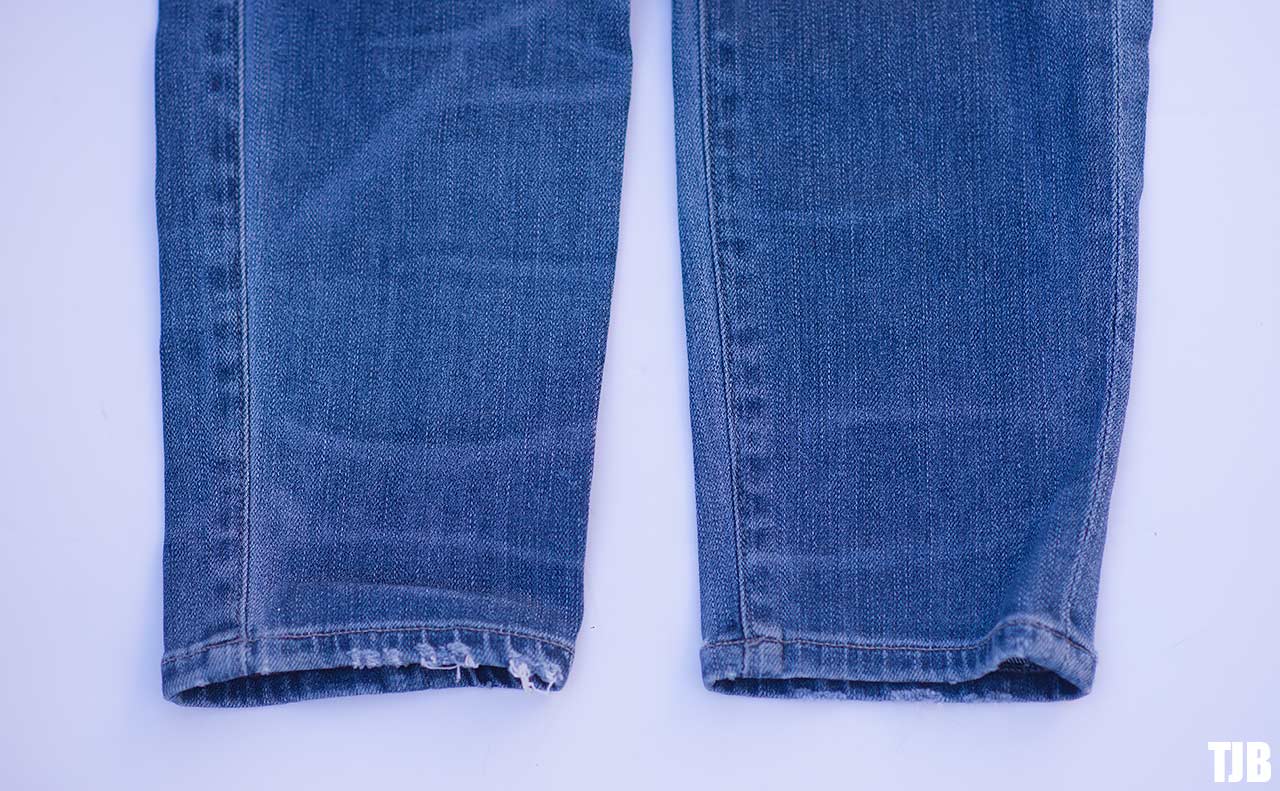
BEFORE
AFTER
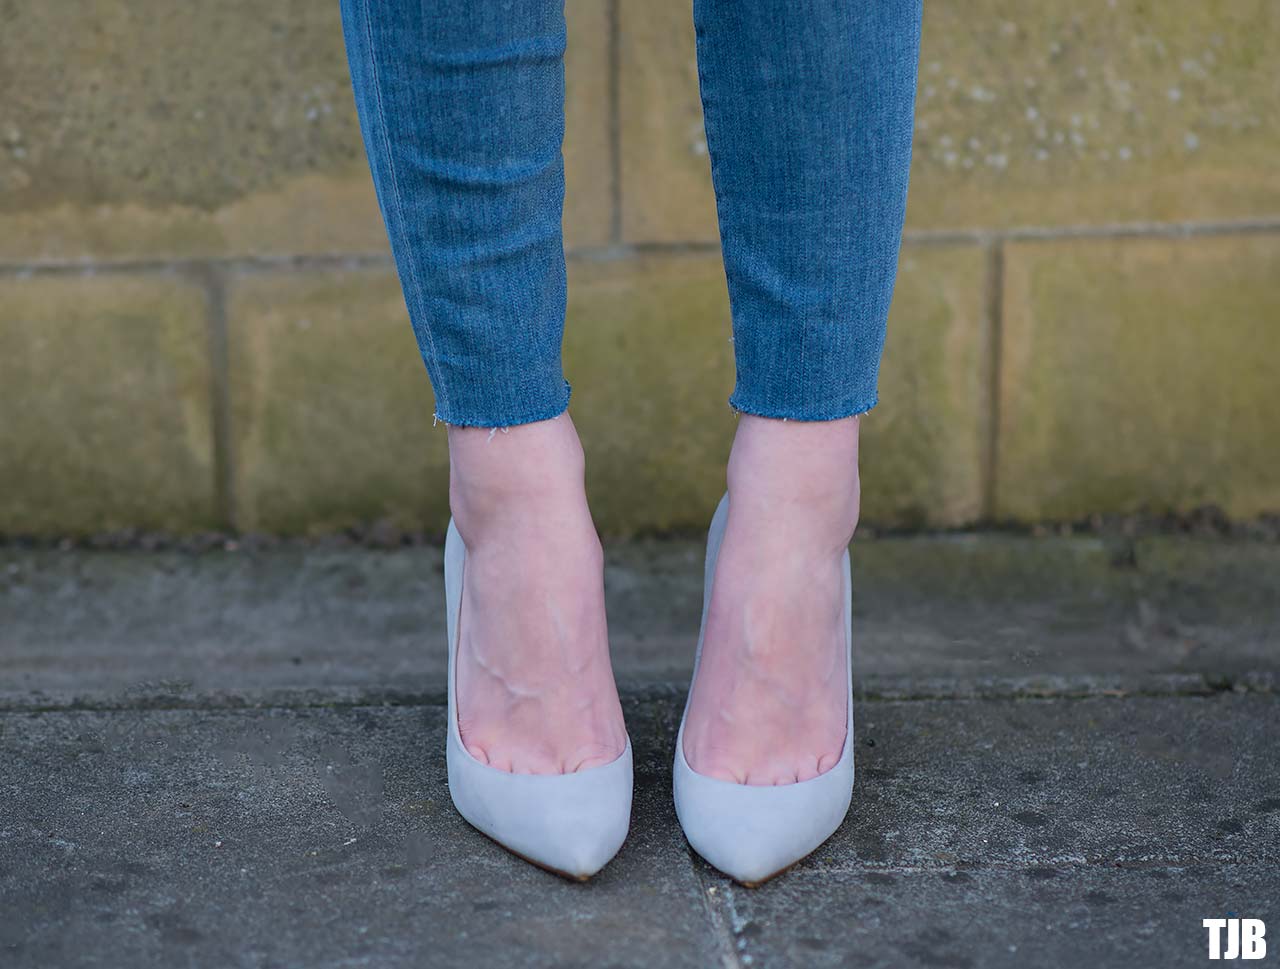
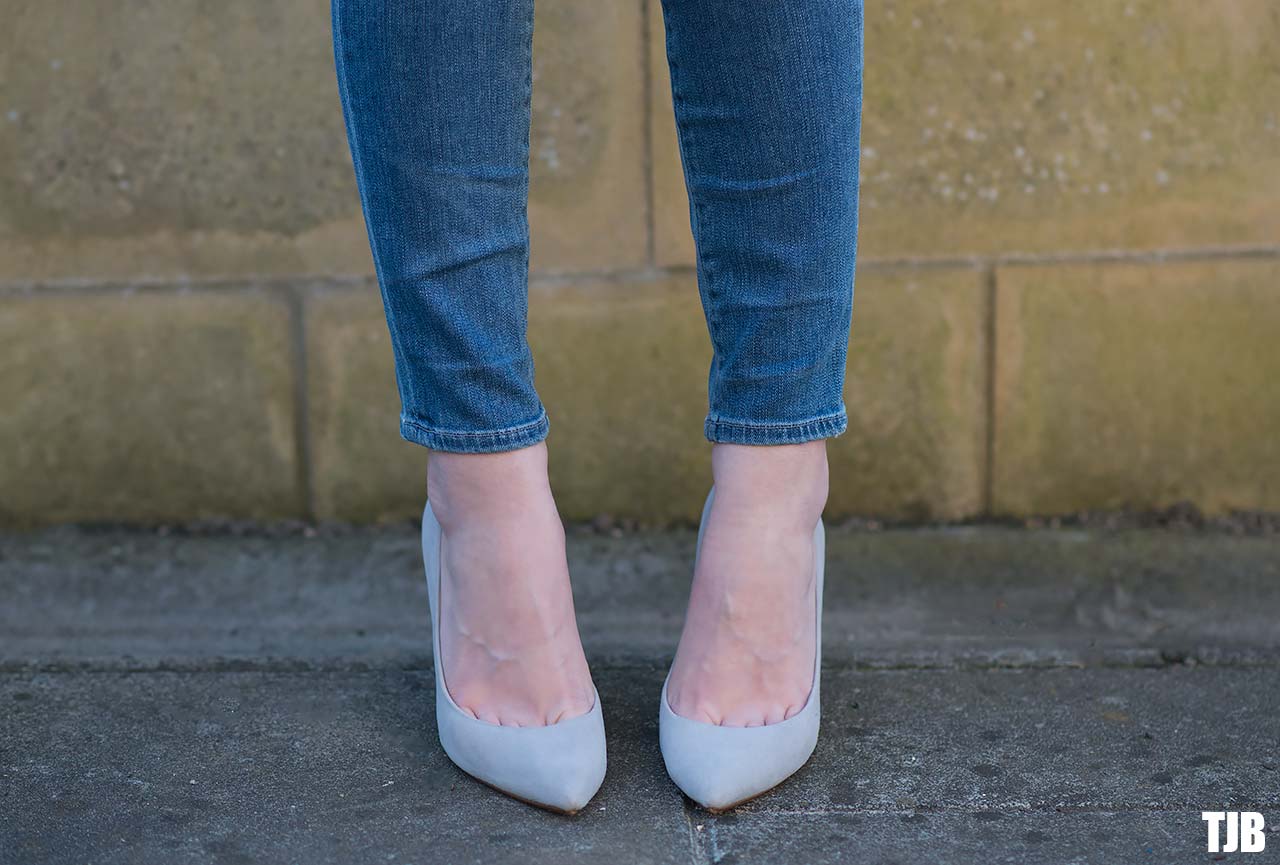
As you can see above, this is my before and after of the jeans. I’m extremely pleased with them, but these are freshly chopped and done, so they aren’t quite at the frayed point that I want them just yet. They require a lot more wear and probably a wash or two to make the hem really look like it’s had some roughing up. You can see my other pair of jeans below and I’m hoping my new ones will look like that after a wash and lots of wear!
Step 6 – This is the after care stage. Mine are doing ok right now, but because you have chopped the hems straight off, the inseam and outer-seam are now left exposed and unfinished, so there’s a chance they might start to unravel. You can prevent this from happening by doing a couple of stitches on the inside of the denim on each side to hold the seams together to stop them splitting. You might not want to as you might like them to split a little bit here and there, but if you want to keep them clean, I recommend it just in case! Be sure to use a thread that’s the same colour as the stitching or the denim itself so if you do happen to sew through the denim instead of the seam by accident, it wont show.
So there you have your brand new raw hem jeans! It didn’t cost you anything (unless you bought new jeans to do it on) and it’s the easiest way to get the look you want on the pair of jeans that you like, especially if you have been having trouble like I have in getting the right wash and hem fray! The Raw Hem DIY couldn’t be more simple! If you have any questions about it, just leave a comment below and I will get back to you! Happy DIY everyone! If you don’t fancy doing it yourself though, check out some of the raw hem jeans on Shopbop here and here and on Revolve Clothing here and here.
And… for those of you that have made it this far! If you don’t feel like doing the DIY raw hem yourself, check out some of the best options to buy which have a raw hem already!
Does it work for skinny jeans that are stretchy?
Yes, the ones I used are very stretchy. Just be sure they are a denim blend with the blue and white woven threads, not a legging. Good luck!
awesome~!
Thank you!
This is awesome,its great to know i can do it myself,thanks. But can you do it on a non-stretchy jean??
Yes, you can do it on any! Non stretchy works better actually as it leaves a nicer frayed edge.
Thank you for the tutorial – worked great!
You’re welcome!
How does this work on black jeans. I have a pair that is too long
It works the same way, doesn’t matter on the colour of the jeans.
I don’t think but the back of the jeans are going up why’s that?
How do you mean going up? Do you mean the back is higher than the front? Did you make sure you cut them completely level with each other?
I Done this*